[ad_1]
As I mentioned on Monday, I work on cleaning and organizing my house before the new year starts. Eventually, I also did any small maintenance projects that were always needed in the homes, and finished off the small details that hadn’t been noticed until now.
I spent a little time in the pantry the past few days. Not only does it require a very good top-to-bottom cleaning, but there are some specific areas that need attention. I finished this pantry in January 2019, so it’s been almost three years. At the time, the countertop I was making from red oak hardwood flooring created some hair cracks between some planks.
So I got a small can of Plastic Wood professional wood filler to repair hair cracks.
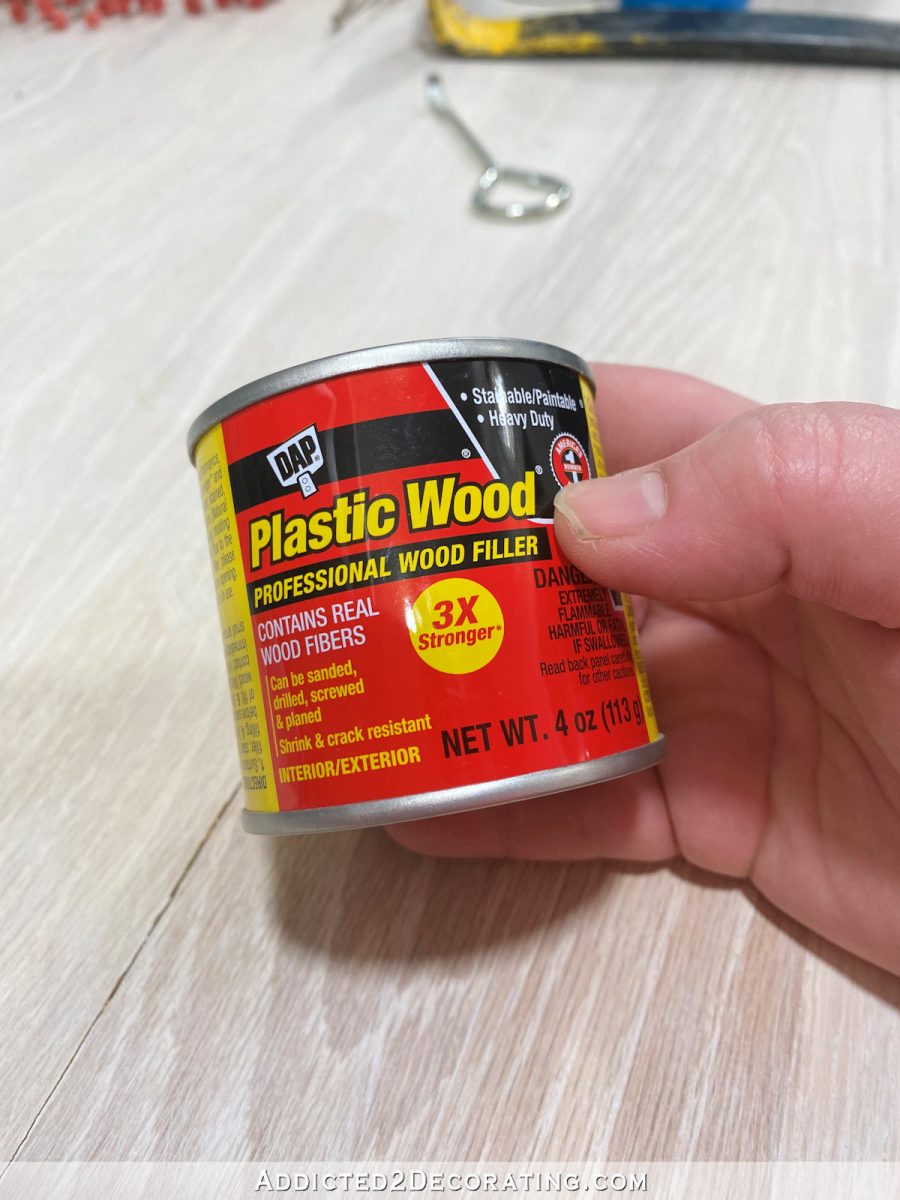
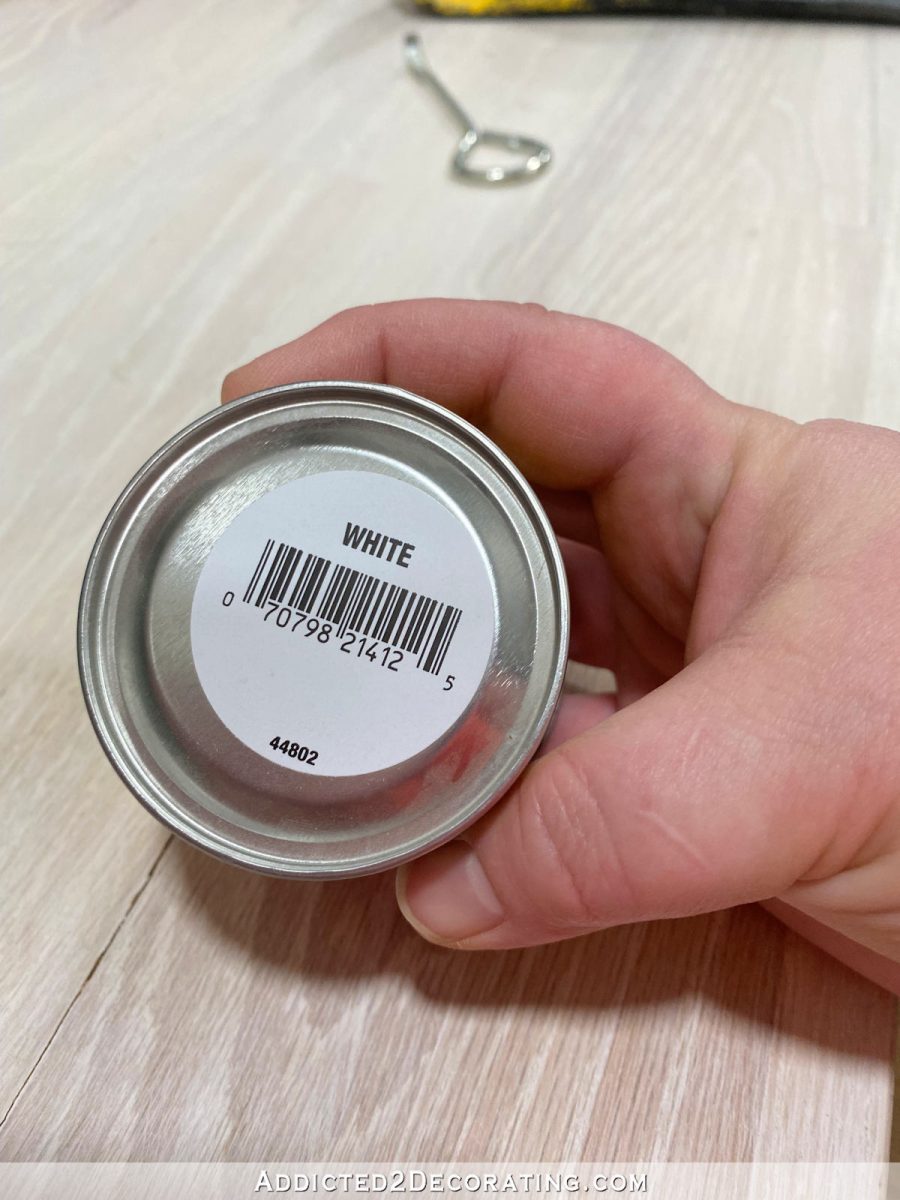
It comes in a variety of colors, so I picked white (which is actually more of an off-white) for my bleached red oak countertop.
That’s not the normal type of tree filler. Where the regular type is soluble in water, it smells like a kind of solvent, and it should be stored upside down with the can opening at the bottom. This is the wood filler I use when I need to fill holes in an outdoor project. So I just wiped that off the cracks in the hair, dried it, and then gave it a light sanding. That’s all the small cracks need.
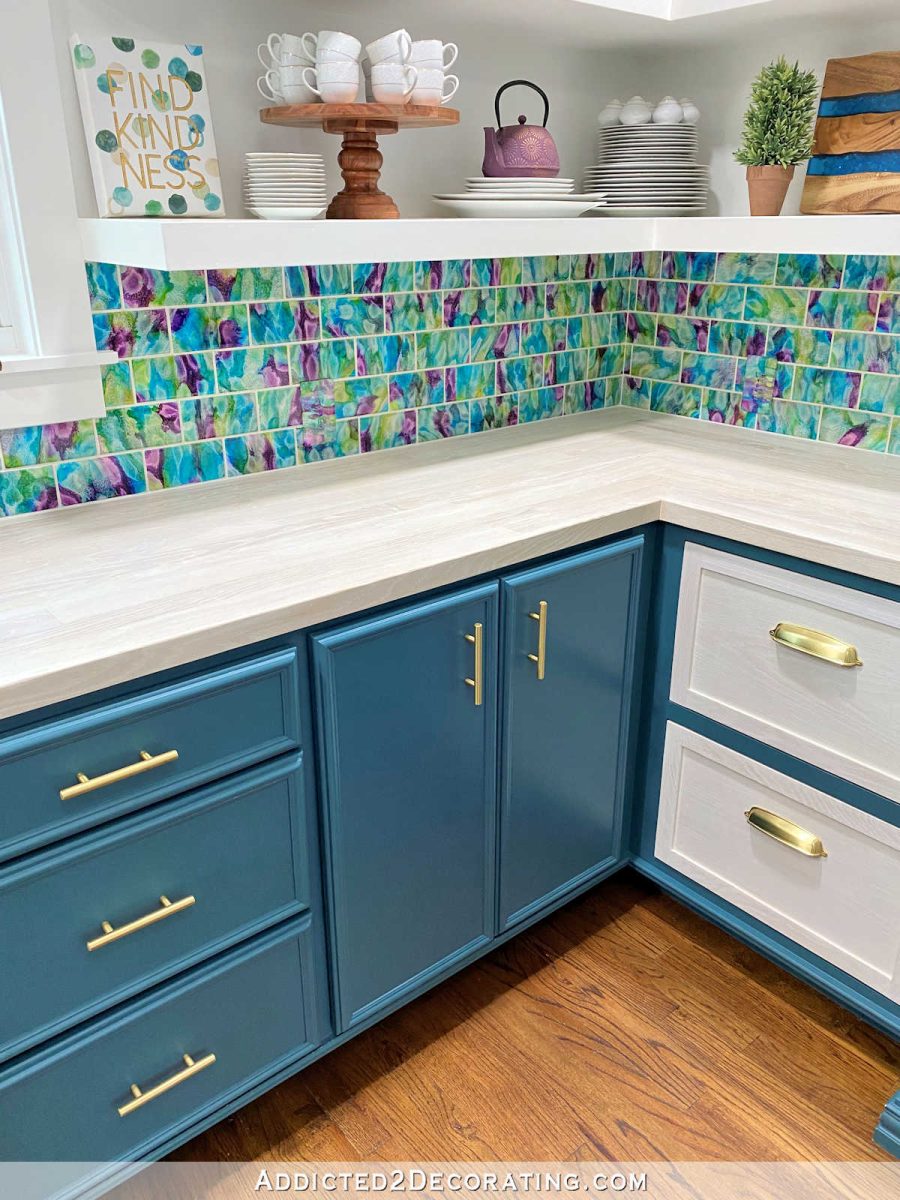
I also had to do a caulking where the tile backsplash meets the countertop. I had no idea why I did it (I know better!), But on the first tour, I filled it with grout instead of caulk. And what happens when you fill this area with grout? It cracks, and some of it comes out completely, leaving you in these gaps.
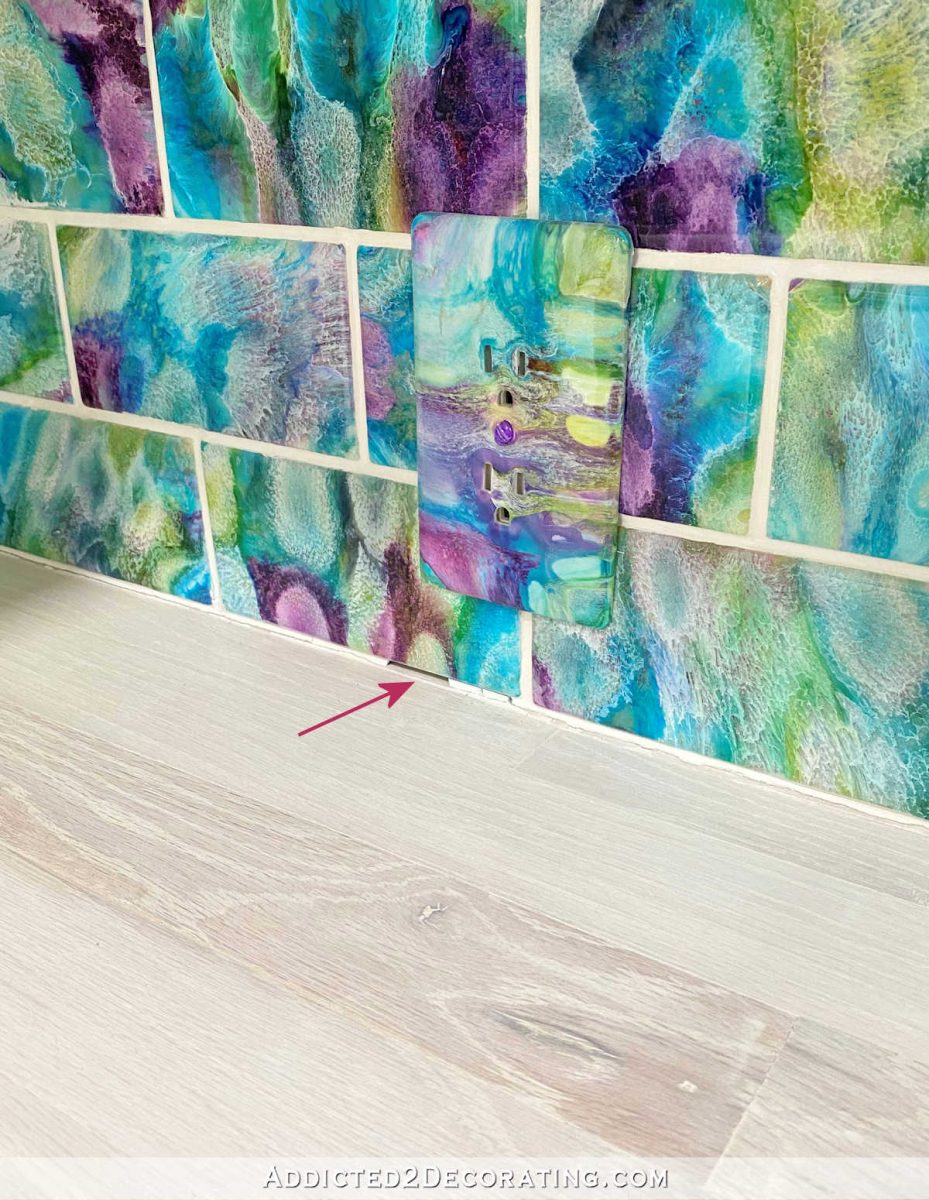
That was another maintenance project that needed attention, and another quick and easy 10-minute project to get the whole thing around the countertop.
A slightly larger project was to repair the scratched paint on the doors and lower drawers on the main bench of the cabinets. That year Matt and I had no room (in 2020, when our current room was still being built), our dog Cooper also needed a place to sleep. So I took his dog bed to the pantry, and here he slept every night, and hung out here sometimes during the day.
The doors scratch when he constantly pushes his bed into the cabinets, leans against the doors, and then when he scratches the door, his nails constantly scratch the doors. It is not enough to actually scrape the paint from the top (i.e., smear paint on the doors) or damage the wood on the doors, but it is enough to leave a small scratch mark on the painted surface, which is visible. more like a different ray than the others.
Meanwhile, I noticed that the color of the pantry cabinet was not as vibrant as I remembered at first. I don’t mean I want it light and bright. But it seems to lack the depth and clarity I wanted to have in it.
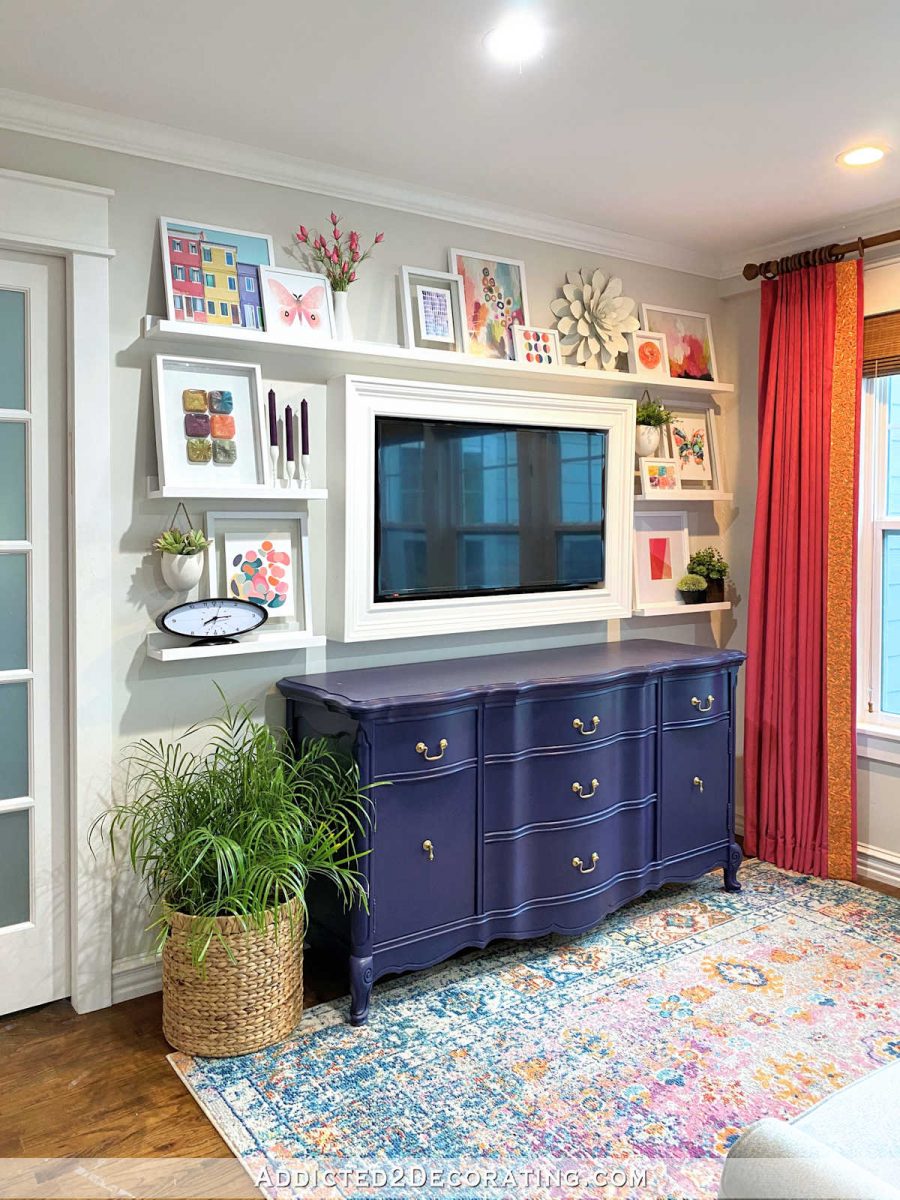
The best way I can describe what I mean is to compare it to the buffet in the breakfast room (now, sitting room) that I just painted. It’s been a dark purple for a long time, but it’s the original black purple…
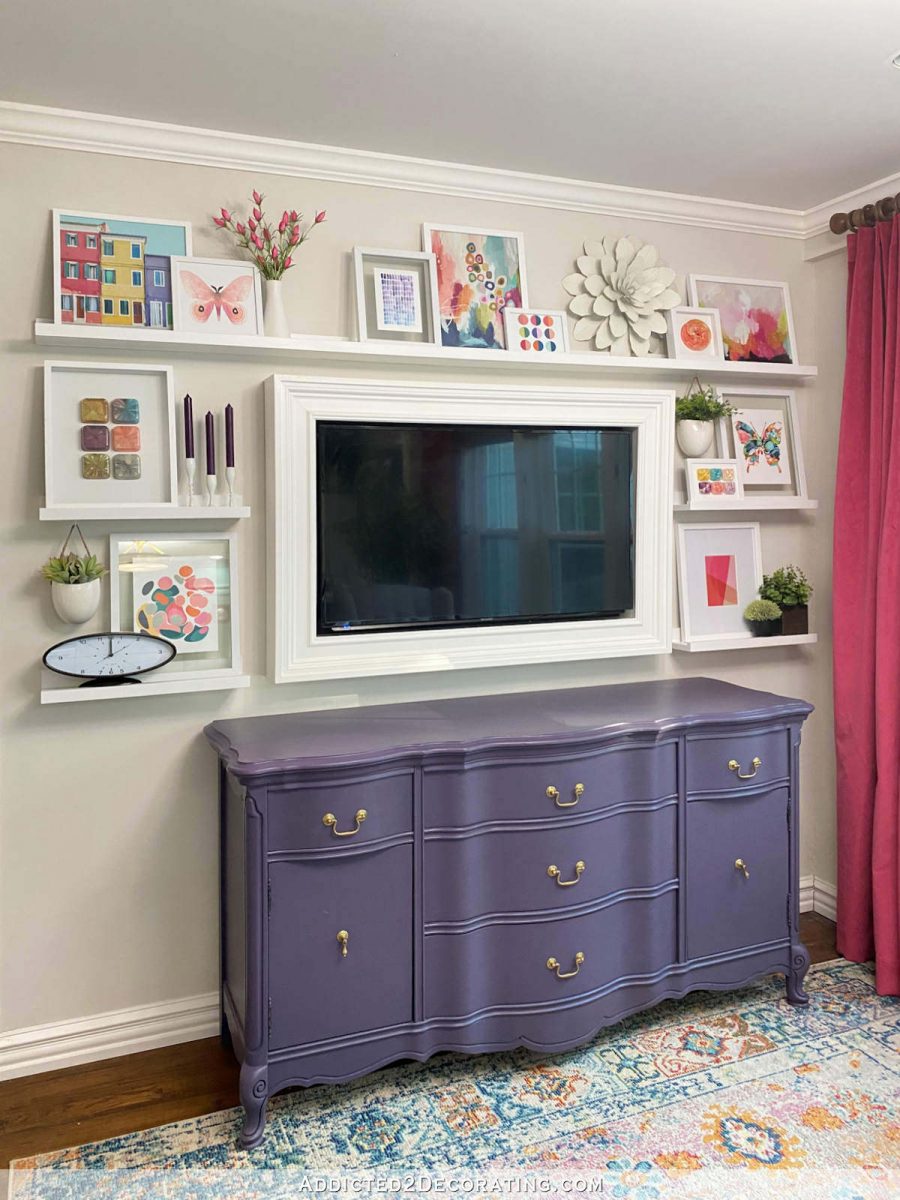
It looks like it was washed a bit, so I painted it a deeper purple. But despite the new deeper purple color, it still has the vibrancy and clarity that the lighter purple lacks.
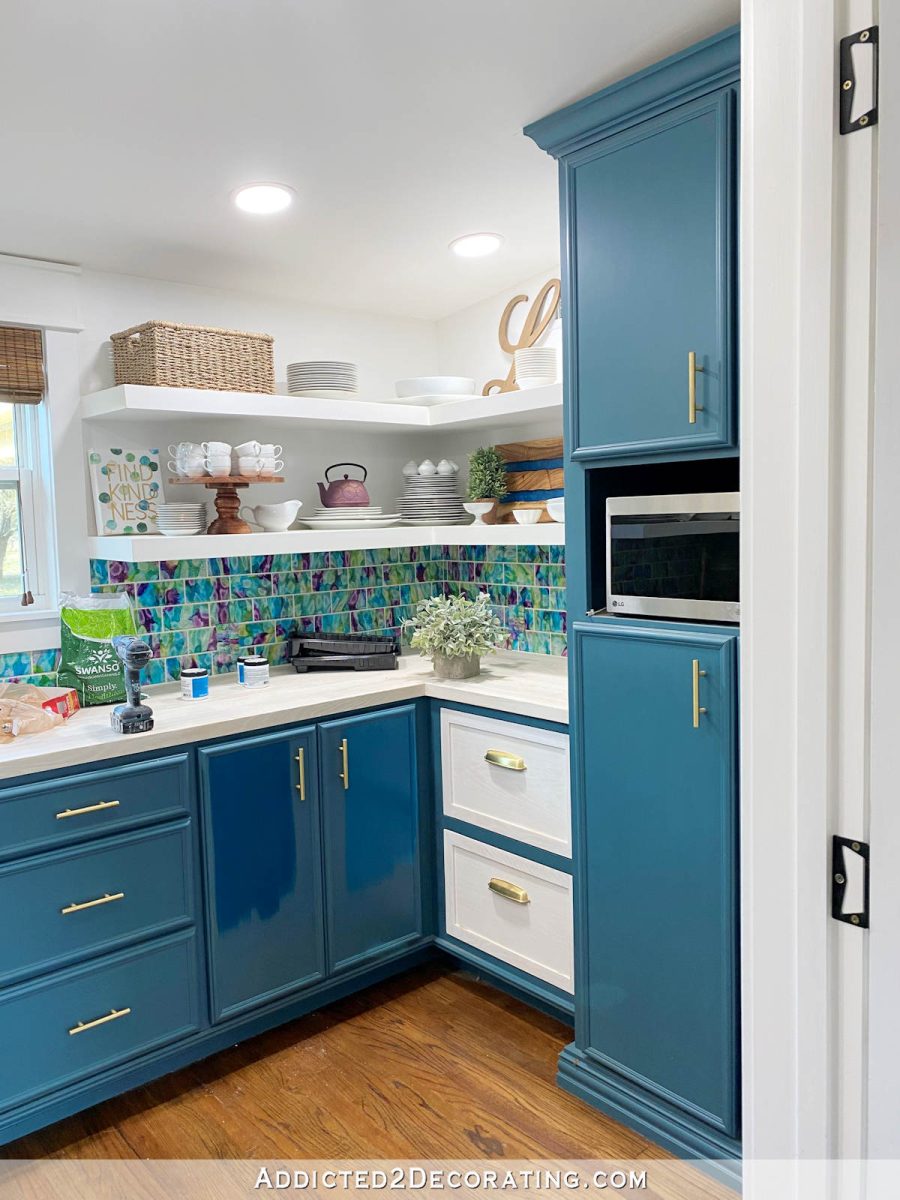
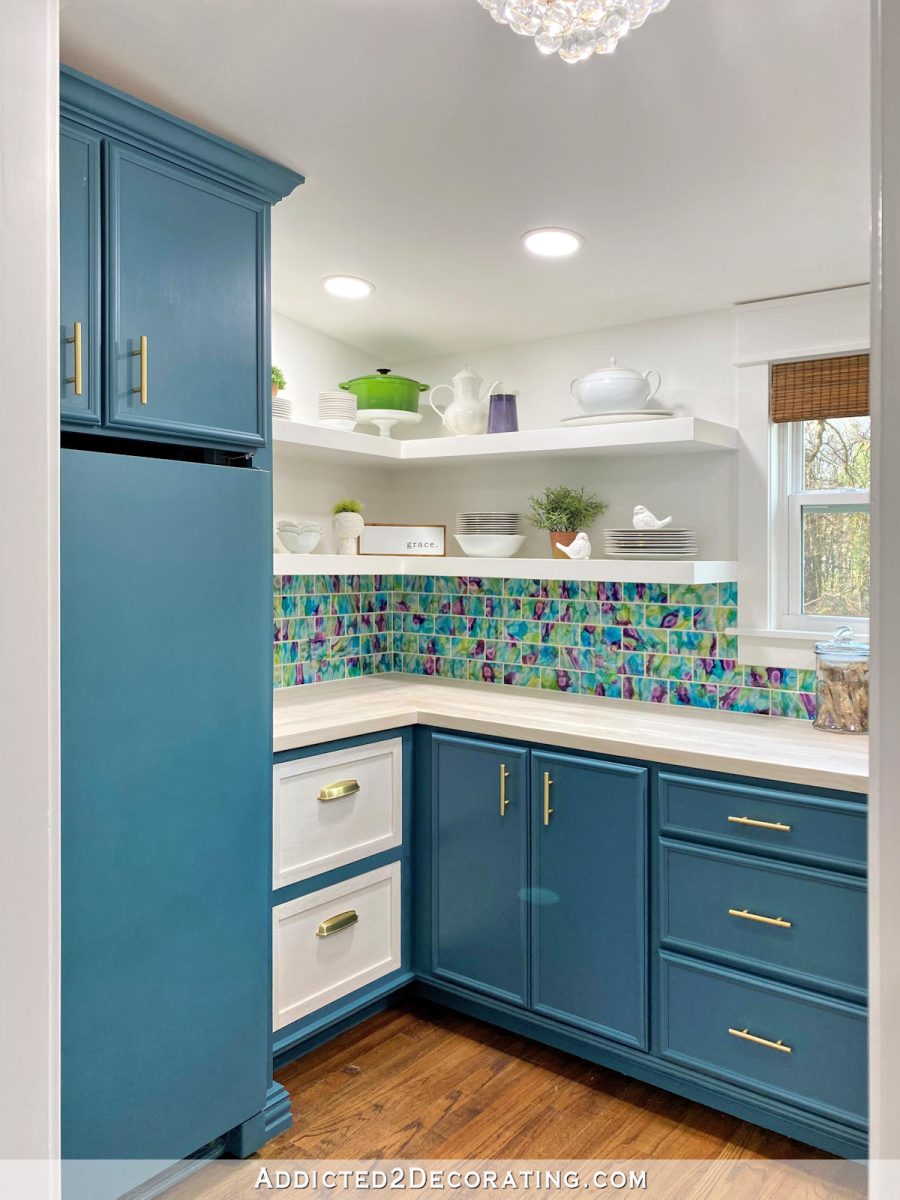
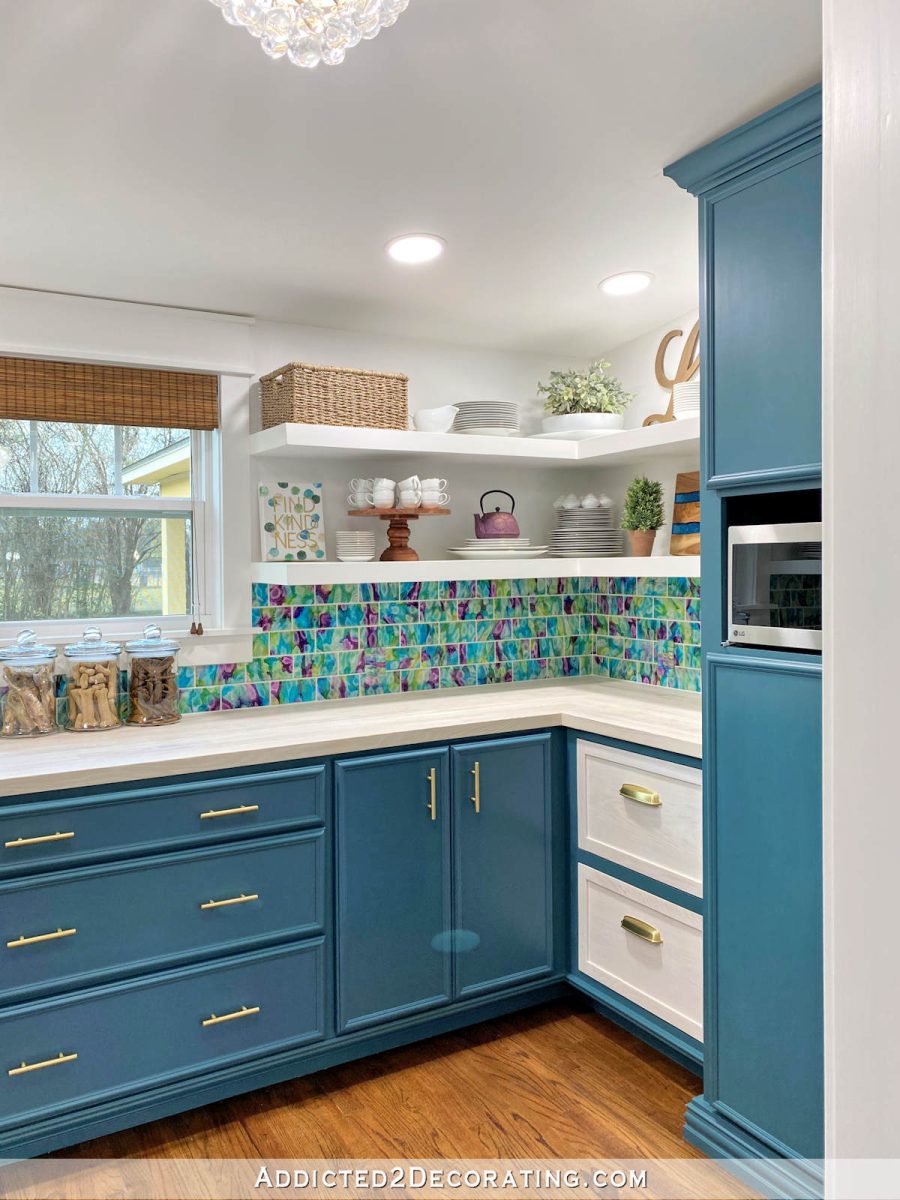
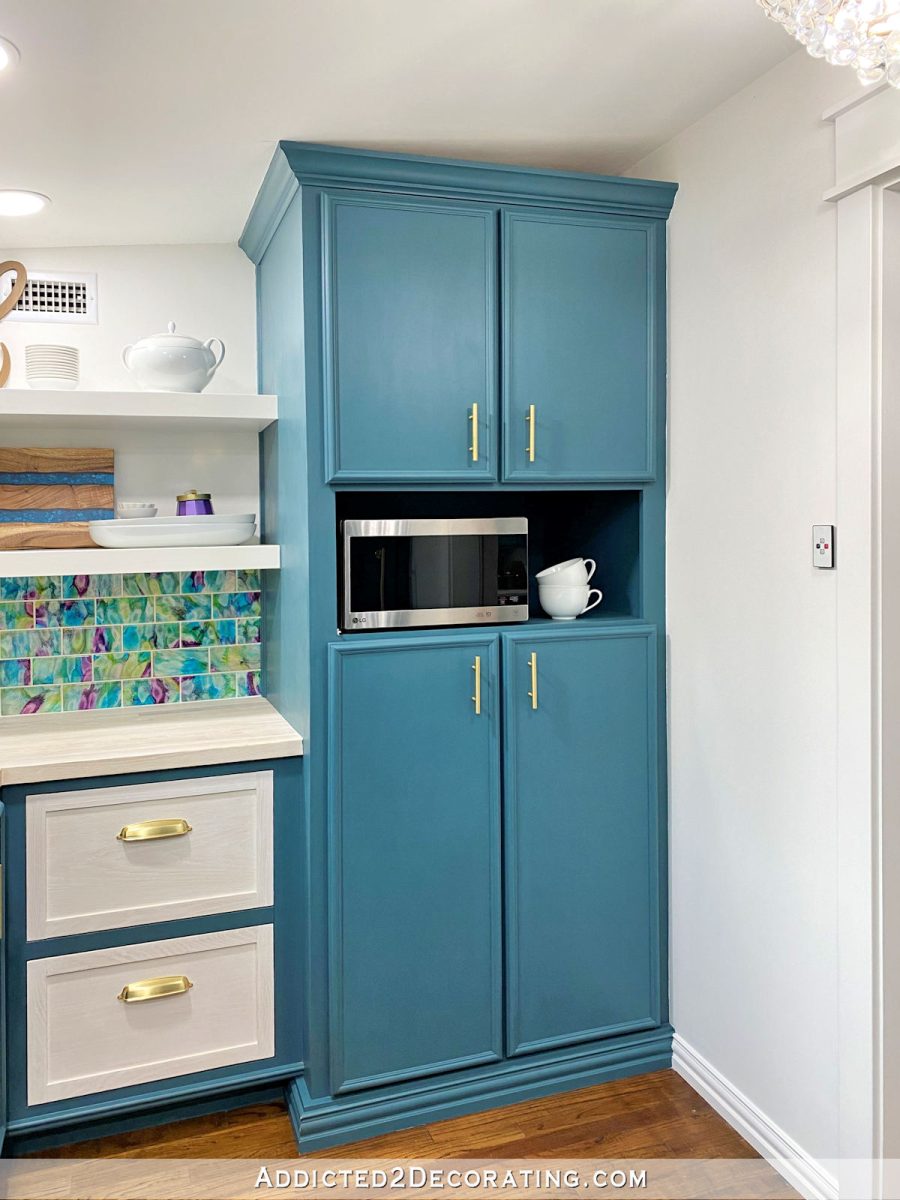
I felt the same way about pantry cabinets, so I went to Home Depot to see if I could find a deeper teal with more energy to it. I think that if I had to repaint four doors and one drawer, it would never be that much harder to repaint all the cabinets. That’s why you see different color paint on these doors…
Finally, I realized that I had never changed the lighting in this room. Remember a few months ago when I changed all my lights from 2700K (warm white) to 5000K (daylight) because warm white spoiled all my colors? If you missed that post on the before and after (they’re so amazing!), you can read all about that here.
Fortunately, this pantry has a type of recessed lighting with multiple color temperature options, so I had to pull each one down, flip a switch, and it was the right color. Then I added two new bulbs to the little chandelier, and the colors look even nicer! I still had to repaint four doors and a drawer, but that took me all of about 15 minutes, so it wasn’t a big deal.
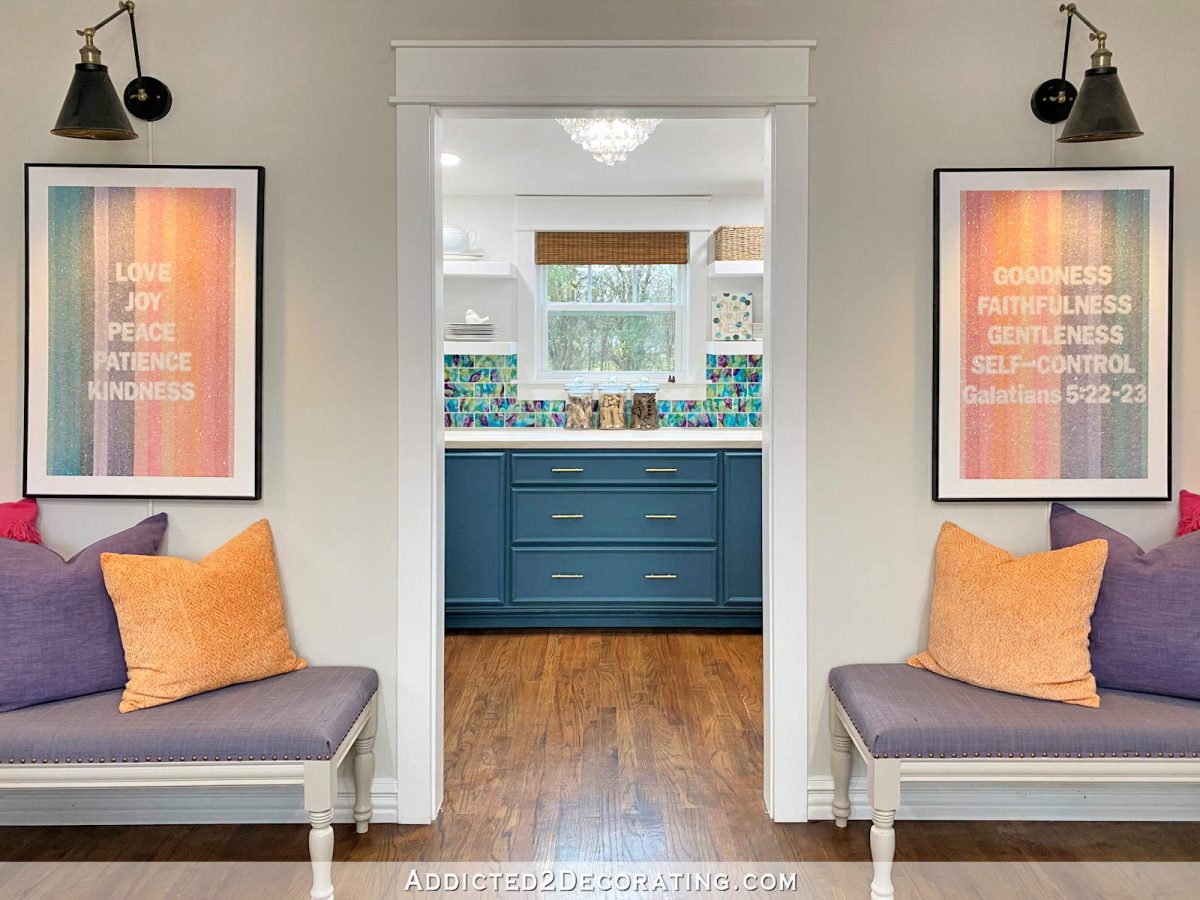
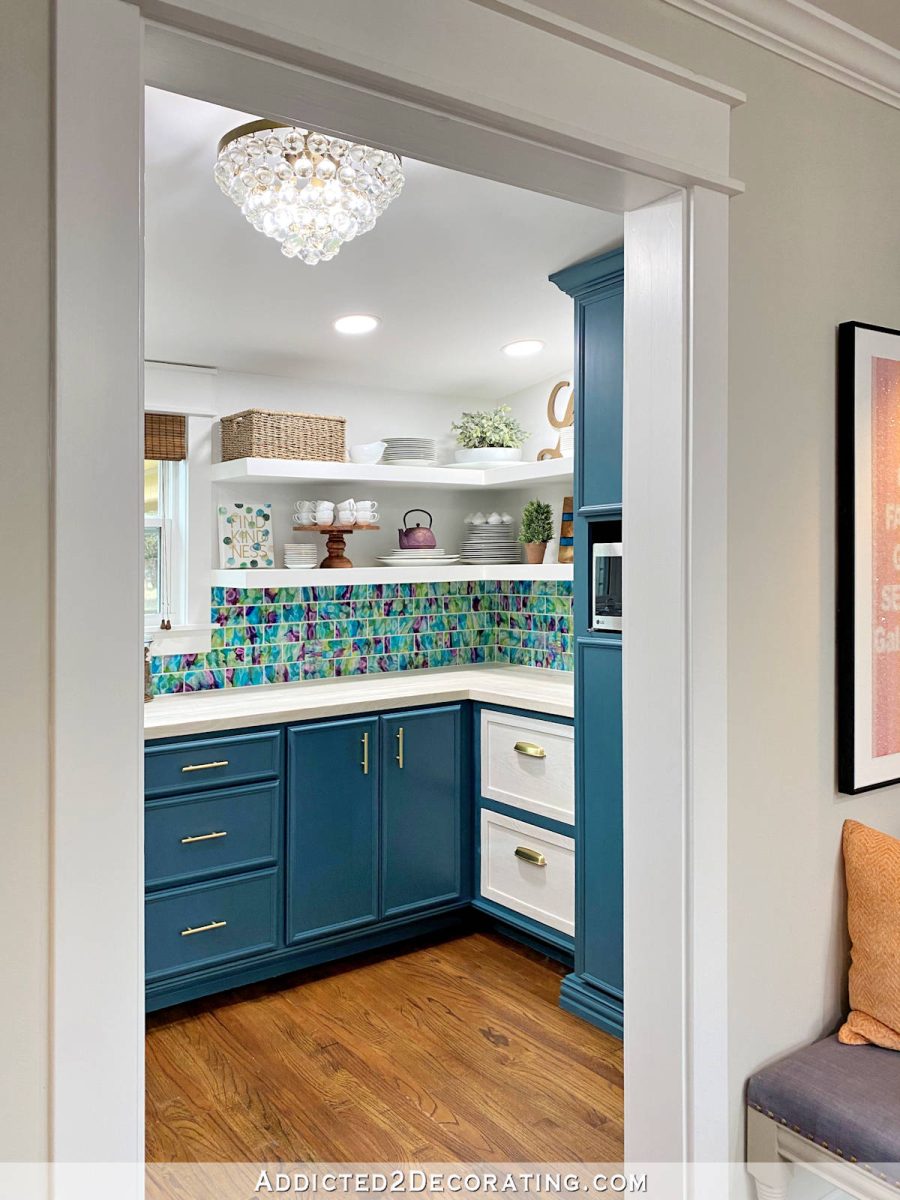
The biggest change I made to the pantry was the removal of the French doors. As much as I love French doors, and think they look so nice in my little pantry, the truth is that I never close them unless I’m taking pictures. For the rest of the time, they stay open. And when they open, they’re in front of the benches facing this door, which makes things feel a little cluttered, and makes the benches feel closed inside and boxed off.
I thought it was a quick and easy project, but it turned out to be the most time consuming of any of them. I thought I would remove the doors, fill in some nail holes, and then paint and be done. Well, not so fast! Going from a door with actual doors to a cased opening also requires removing this stop molding, which is only available when a door has a door that needs to be. … well … stop. ⁇

If you remove the doors from a door, and leave the molding to stop, it is very clear that it is not intended to be an opening in the cased, and it will look half finished. So it should also disappear. And that’s a bit of work I look forward to with all the necessary wood filling and sanding and priming and painting.
But I’m glad I did. I like that the pantry is more visible and not hidden behind the doors, or the doors that are always open and resting on the benches. Here’s how it looks now with an opening without a door.
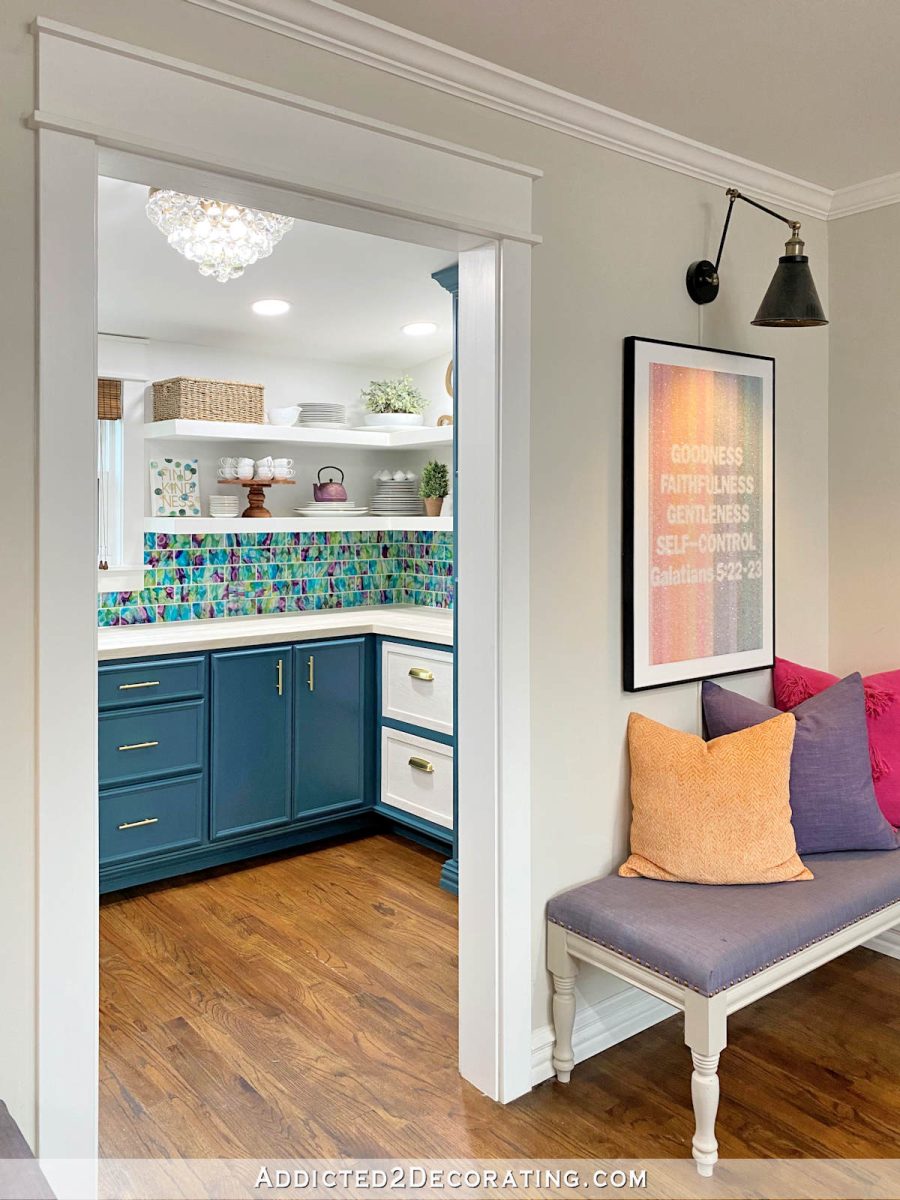
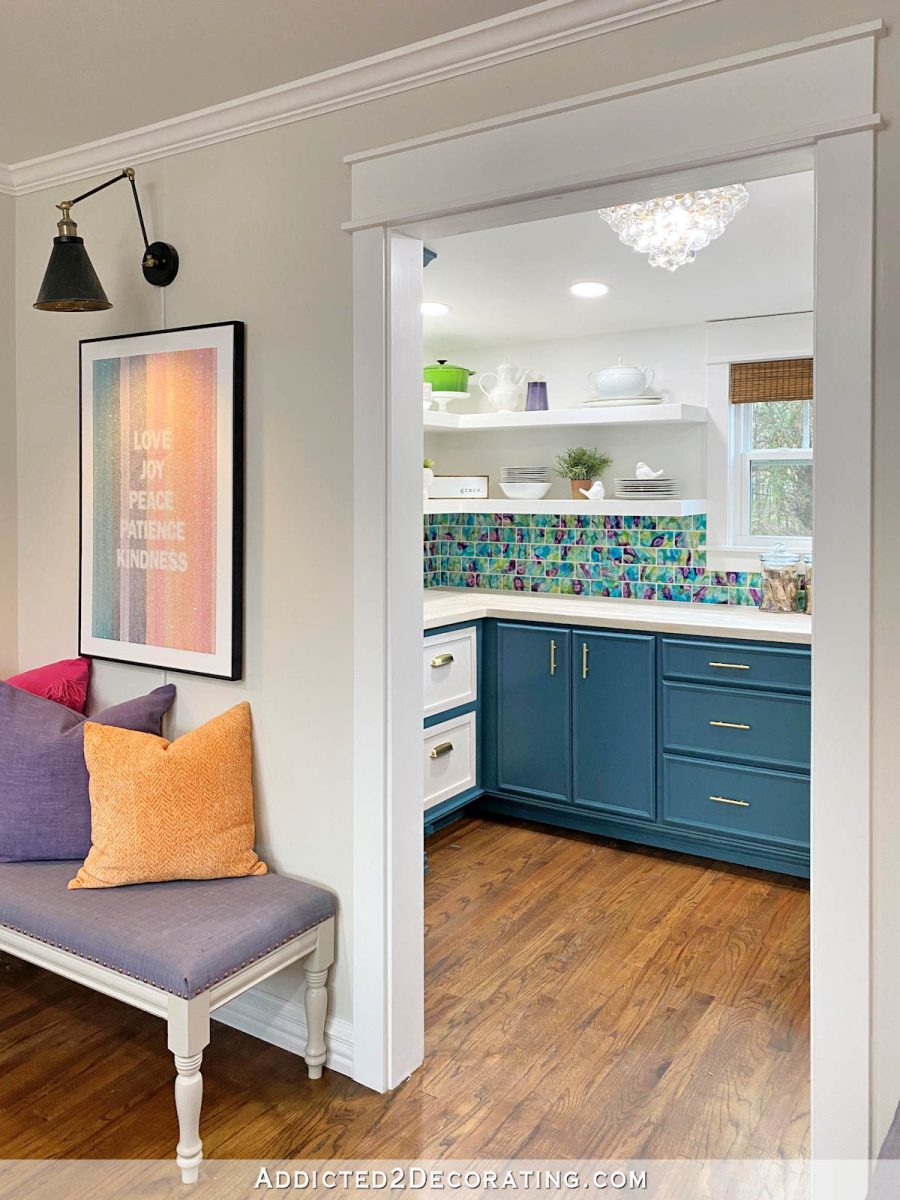
I think it should be a little familiar, because I’m used to seeing French doors in this room. But I really like the openness of this place now.
And honestly, I’m glad I kept the color in the cabinet. It’s the same color I use on book shelves and music room doors, and these two parts can be seen from the front door of the house. So the color change here can cause a chain reaction to the changes, and that’s not really what I need in my life right now.
So the pantry is nice and clean, all the repairs and maintenance have been done, and it’s more open in other parts of the house now. And three years later, I still love my little pantry.
Just a reminder, the freezer handle is on the right side of the way I use it. 🙂 If it is a kitchen, the handle should be on the other side. But the way I use it (get in from the kitchen, open the freezer and take something out, and head back to the kitchen), this method works perfectly.

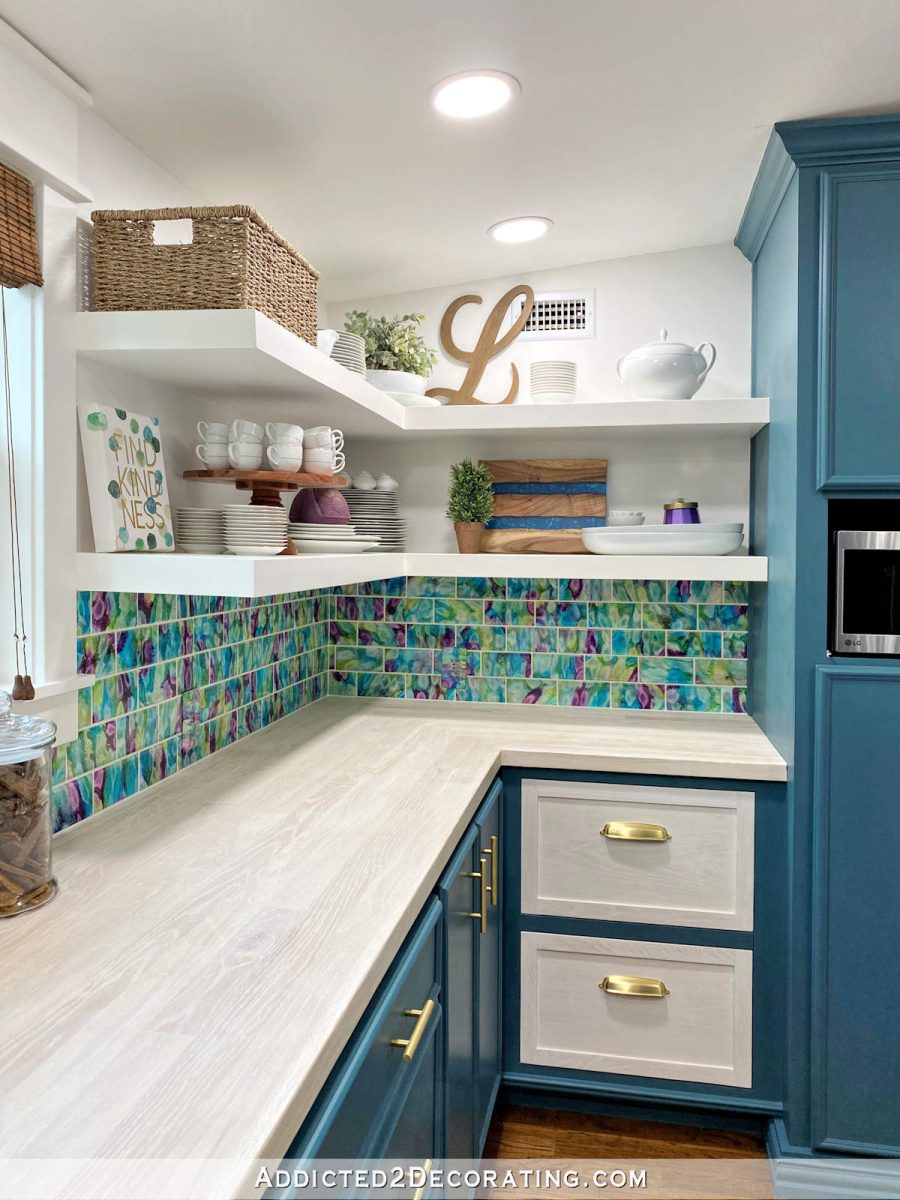
And one more update: I always get questions about how my DIY alcohol ink and resin tile stays in the pantry. As you can see, it holds up perfectly! I did not notice any color change (i.e., yellowing) in the resin. The colors are as vibrant now as the day I installed them. So while I’m still not sure if I would recommend them for a kitchen backsplash, I have no problem recommending this project for an area with less traffic and everyday use such as a kitchen. If you missed my DIY resin/alcohol ink backsplash tile project, you can find that here.
Since the breakfast room (now, lounge chair) is the most recently finished bedroom in the house, there is no need for anything other than a quick cleanup, and then I have maintenance projects that I want to be taken care of in the kitchen. I totally enjoyed this process, and I’m so excited to start the new year with a clean house, and without a bunch of small maintenance projects hanging over my head.

Addicted 2 Decorating is where I share my DIY and decorating journey as I remodel and decorate the 1948 fixer upper that my husband, Matt, and I bought in 2013. Matt has MS and can’t do physical work , so I do most of the work at home on my own. You can learn more about me here.
I hope you join me on my DIY and decorating journey! If you’d like to follow my projects and progress, you can subscribe below and send each new post to your email inbox. That way you won’t miss a thing!
[ad_2]
Source link